
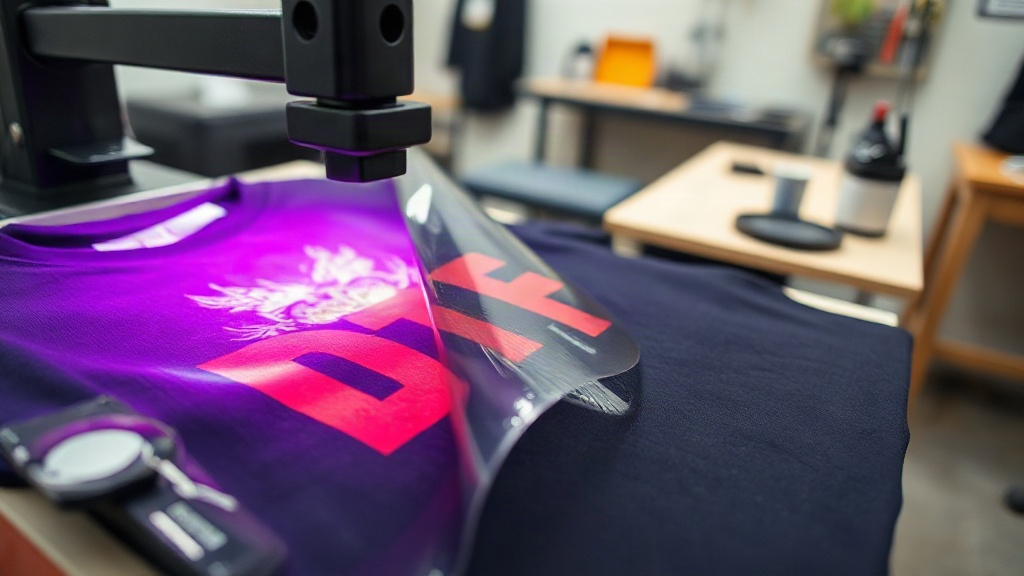
If you've been exploring custom apparel printing, you've likely encountered DTF Transfers. This technology has rapidly gained popularity for its versatility and vibrant results. Unlike traditional methods that require specific fabrics or extensive setup, DTF transfers offer a straightforward path to professional-looking prints. Whether you're a small business owner, a hobbyist, or someone curious about garment decoration, understanding DTF transfers can open up a world of creative possibilities. In this guide, we'll walk you through the entire process, from selecting materials to pressing techniques, and share practical tips to help you achieve flawless results every time.
What Are DTF Transfers?
DTF stands for Direct to Film. It's a printing method where your design is printed onto a special film, coated with a thermoplastic powder, and then heat-pressed onto the fabric. The magic lies in the adhesive powder: when heated, it melts and bonds the ink to the material, creating a durable, stretchable print. Unlike DTG (Direct to Garment) or screen printing, DTF transfers work on almost any fabric, including cotton, polyester, blends, and even leather. This flexibility makes them a favorite for small businesses that need to fulfill diverse orders without investing in multiple printing setups.
Why Choose DTF Transfers?
There are several reasons why DTF transfers have become a go-to solution for many printers. First, the color vibrancy is exceptional. DTF printers use CMYK plus white ink, allowing for bright, opaque prints on both light and dark garments without the need for separate white underbase screens. Second, the process is relatively simple: print, powder, cure, and press. No weeding, no masking, no complicated registration. Third, DTF transfers are incredibly durable. When applied correctly, they withstand repeated washing without cracking or fading. Finally, the cost per print is competitive, especially for short runs and one-off designs, making them ideal for on-demand production.
Materials You'll Need for DTF Printing
Before you start, gather the right supplies. Here's what you'll need:
- DTF printer or access to one (many services offer printing if you don't want to invest in a machine).
- DTF film: available in rolls or sheets, with a matte or glossy finish. Matte film tends to hold powder better.
- DTF ink: specifically formulated for DTF printers, usually CMYK and white.
- Hot melt adhesive powder: the key to bonding the ink to fabric.
- Heat press: for both curing the powder and applying the transfer.
- Heat-resistant tape (optional): to hold the transfer in place during pressing.
- Parchment paper or Teflon sheet: to protect your heat press and garment.
Step-by-Step DTF Transfer Process
1. Designing Your Artwork
Start with a high-resolution image. DTF printers can handle fine details, but vector files or 300 DPI raster images work best. Remember that the design will be printed in reverse, so if it includes text, mirror it before printing. Also, consider the fabric color: DTF prints are opaque, so you don't need to worry about the background, but a white underbase is automatically included in the print.
2. Printing the Transfer
Load your DTF film into the printer and print your design using the appropriate settings. Most DTF printers have a specific profile that lays down a layer of white ink followed by CMYK. Ensure the print is vivid and has no banding. After printing, let the ink dry slightly; it should be tacky but not wet.
3. Applying the Powder
This step is crucial. Sprinkle the hot melt adhesive powder evenly over the wet print. You can use a powder shaker for better control. Then, tilt the film and gently tap off the excess powder. You want a thin, consistent layer covering all the ink. Any bare spots will result in poor adhesion.
4. Curing the Powder
Place the powdered film in a heat press or oven. If using a heat press, set it to around 320°F (160°C) and press for 10-15 seconds with low pressure. The powder should melt and become glossy. Alternatively, use a conveyor oven for consistent curing. Once cured, the transfer can be stored for later use or pressed immediately.
5. Pressing onto the Garment
Preheat your heat press to 325°F (163°C). Place the garment on the press, and if needed, pre-press for a few seconds to remove moisture. Position the transfer with the printed side facing up, and cover with parchment paper. Press for 15-20 seconds with medium pressure. For best results, peel the film while it's still warm (warm peel). If you wait until it cools, the adhesive might stick to the film, causing the print to lift.
Common DTF Transfer Problems and How to Fix Them
Even with experience, issues can arise. Here are some common problems and their solutions:
- Print cracking after washing: Usually caused by under-curing the powder or insufficient pressure during application. Increase curing time or pressure.
- Powder not sticking: The ink may be too dry before powdering. Work quickly, or adjust your printer settings to increase ink density.
- Transfer peeling off: Ensure you're using the correct temperature and pressure. Also, check that the garment is clean and dry.
- Dull colors: May indicate low-quality ink or film. Try a different brand or adjust your printer's color profile.
Tips for Perfect DTF Transfers
To elevate your DTF game, keep these tips in mind:
- Test your settings: Every heat press and garment behaves differently. Always do a test press on a scrap piece of fabric.
- Store transfers properly: Keep unused transfers in a cool, dry place, away from direct sunlight. They can last for months if stored correctly.
- Use a heat-resistant tape: For small or intricate designs, tape the transfer down to prevent shifting during pressing.
- Pre-press garments: This removes wrinkles and moisture, ensuring a smooth application.
- Choose the right film: Matte film is generally easier for beginners, as it holds powder better.
Frequently Asked Questions About DTF Transfers
Can I use DTF transfers on 100% polyester?
Yes, DTF transfers work beautifully on polyester. In fact, they adhere well to synthetic fabrics, but you should lower the pressing temperature slightly (around 300°F) to avoid scorching. Always test first.
How long do DTF transfers last?
With proper application and care, DTF transfers can last as long as the garment itself. They withstand dozens of washes without fading or cracking. Turn the garment inside out and wash in cold water to extend longevity.
Do I need a special printer for DTF?
You can convert some inkjet printers to DTF, but it's best to use a dedicated DTF printer that handles white ink and has the necessary firmware. Alternatively, many companies offer DTF printing services if you want to avoid the investment.
What is the difference between DTF and DTG?
DTG (Direct to Garment) prints directly onto the fabric and works best on 100% cotton. DTF transfers are printed on film and then applied, allowing them to work on a wider range of materials, including blends and polyester. DTF also tends to have more vibrant colors on dark garments.
Can I stretch DTF transfers?
Yes, DTF transfers are stretchable and flexible, making them ideal for athletic wear and stretchy fabrics. The adhesive powder creates a strong bond that moves with the fabric.
Mastering DTF Transfers takes a bit of practice, but with the right materials and techniques, you'll be producing professional-quality prints in no time. Remember to experiment, take notes, and don't be afraid to tweak your process. Whether you're printing for fun or for profit, DTF technology offers a reliable and versatile solution for all your garment decoration needs.